

Adding the web part

Different Headings, Styles and other properties

Always Display

Different Headings
Add a Table of Contents to your modern page to enable easy navigation.
** Please note ** this web part is not FREE, however by installing this web part, you will be granted a trial license. You may purchase this web part through the web part "Buy Now" button. For more information about the Table of Contents web part, please refer to https://www.qualitem.com/products/web-parts/table-of-contents.
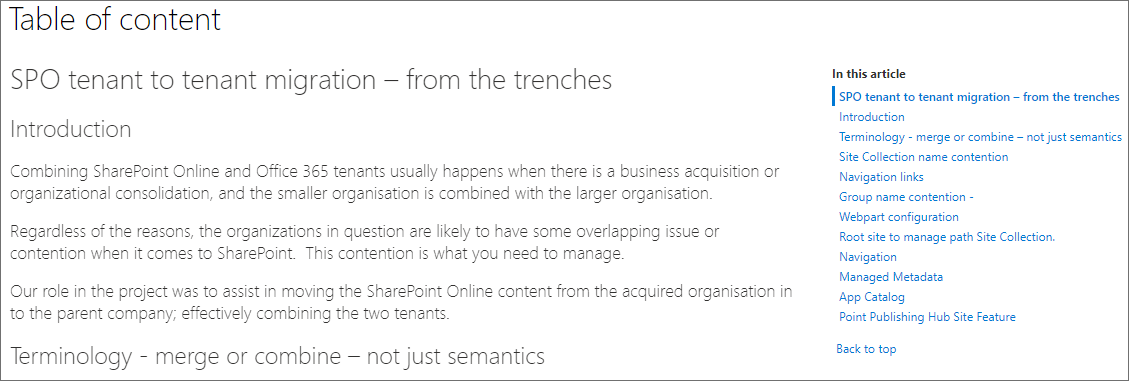
The Table of Contents Web part is used in a SharePoint Modern page to help readers position directly to the information they are looking for. At a glance, readers can see the headings and topics within the article and easily navigate lengthy pages.
Using a Table of Contents will help you to organise information on the page, it helps readers to quickly scan the page headings. Allowing readers to quickly position to content by selecting the headings is a human centred design approach.
Headings are nested (e.g. Heading 2 under Heading 1 etc.) and indented progressively to easily outline topics and sub-topis.
Applying a Table of Content Web part to long, content-rich pages supports the idea that:
- The reader can jump directly to a topic or sub-topic without the need to endlessly scroll.
- The Table of Contents helps navigate long content and build a mental model for the reader.
- A page with a Table of Contents looks more organized and professional.
The Table of Contents Web part offers an easy way to manage the headings on a SharePoint modern page with simple styling options available.
| Version | Release date | ||
|---|---|---|---|
| 2.1.46.0 | Latest stable | Tuesday, July 1, 2025 | |
| 2.1.45.0 | Monday, November 18, 2024 | ||
| 2.1.36.0 | Thursday, May 23, 2024 | ||
| 2.1.33.0 | Wednesday, April 17, 2024 | ||
| 2.1.27.0 | Tuesday, March 12, 2024 | ||
| 2.1.19.0 | Friday, September 8, 2023 | ||
| 2.1.18.0 | Monday, November 14, 2022 | ||
| 2.0.9.0 | Monday, December 6, 2021 | ||
| 2.0.8.0 | Wednesday, December 1, 2021 | ||
| 2.0.7.0 | Friday, July 2, 2021 | ||
| 2.0.6.0 | Friday, July 2, 2021 | ||
| 2.0.5.0 | Friday, July 2, 2021 | ||
| 2.0.4.0 | Friday, July 2, 2021 | ||
| 2.0.3.0 | Friday, July 2, 2021 | ||
| 2.0.2.0 | Friday, July 2, 2021 | ||
| 2.0.1.0 | Tuesday, June 29, 2021 | ||
| 2.0.0.0 | Friday, April 30, 2021 | ||
How to use Qualitem’s Table of Contents Web part?
Introduction
The Table of Contents Web part is used in a SharePoint Modern page to help readers position directly to the information they are looking for. At a glance, readers can see the headings and topics within the article and easily navigate lengthy pages.
Why use Table of Contents Web part?
Using a Table of Contents will help you to organise information on the page, it helps readers to quickly scan the page headings. Allowing readers to quickly position to content by selecting the headings is a human centred design approach.
Headings are nested (e.g. Heading 2 under Heading 1 etc.) and indented progressively to easily outline topics and sub-topis.
Applying a Table of Content Web part to long, content-rich pages supports the idea that:
- The reader can jump directly to a topic or sub-topic without the need to endlessly scroll.
- The Table of Contents helps navigate long content and build a mental model for the reader.
- A page with a Table of Contents looks more organized and professional.
The Table of Contents Web part offers an easy way to manage the headings on a SharePoint modern page with simple styling options available.
Installing the Qualitem Table of content Web part
Click on install now button to quickly and easily install Qualitem’s Table of Contents Web part.
Adding Table of Contents Web part to your page
Once installed into your SharePoint Online tenant, you can easily add this web part to a section at the top of your SharePoint modern page. This web part is typically added to the right section (in a 2 or 3 column pages) as shown in the layout below.
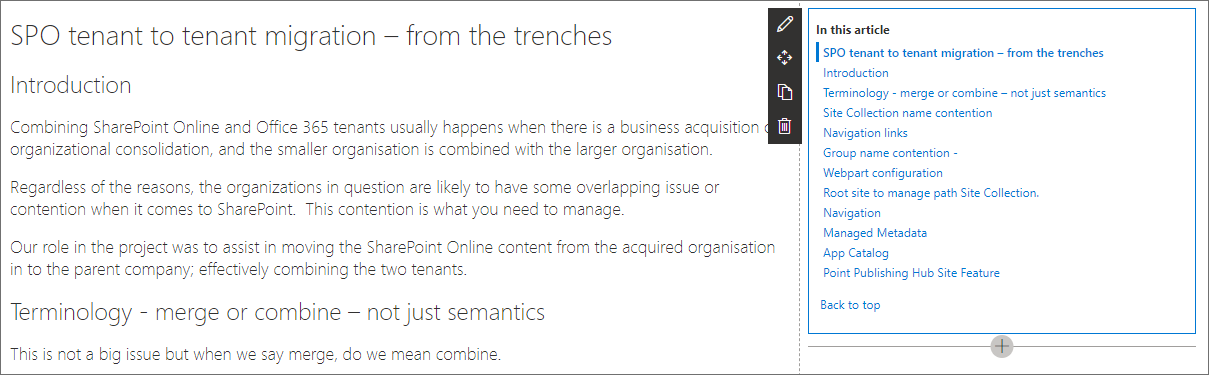
This is to enable the Table of Contents Web part to be in an “Always display” mode on the side of the content.
To add the Table of Contents Web part to a page: Please refer to this link for more information on how to add a web part.
- If the page is not already in edit mode, click Edit at the top right of the page.
- Select an appropriate section to staple the Table of Contents Web part to, understanding that the web part will be in an “always display” mode whilst the reader is scrolling down the content. This is usually placed in the right-side column.
- Hover your mouse above or below an existing web part and you'll see a line with a circled +, like this:

- Click + and you'll see a list of web parts to choose from.
- To easily find the web part you're looking for, start typing in the Search box.
- Type the words “Table of Contents” and the following will display:
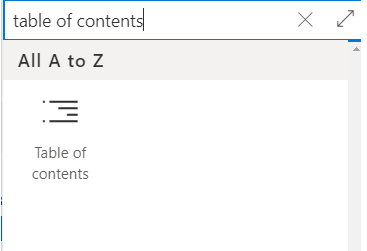
- Select the “Table of Contents” to add it to the page.
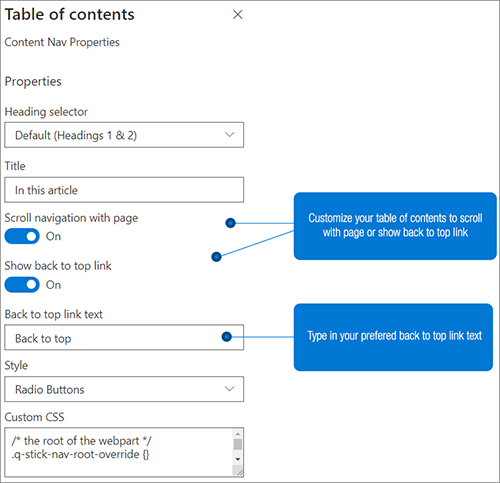
Configure Table of Contents Web part settings
The settings are used to change the behaviour of the web part.
Heading selector
- Select the preferred heading level to start creating the table of content navigation from.
- Enter the preferred Title; this is displayed above the list of Table of Contents.
- Select the Style.
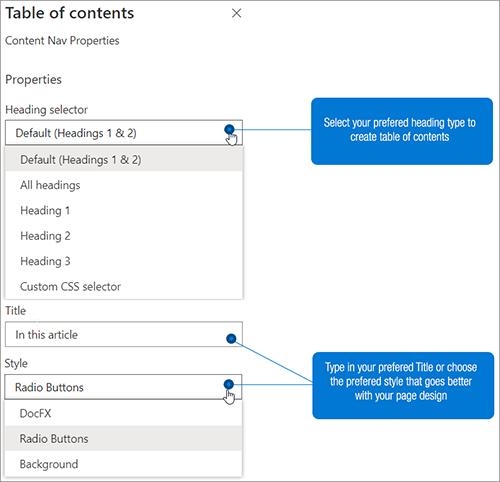
- The images below are how the current styles render the table of content.
| DocFX Style | Radio Buttons Style | Background Style |
|---|---|---|
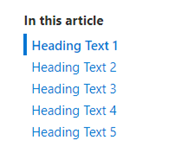 |
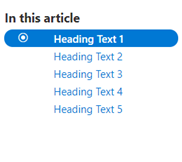 |
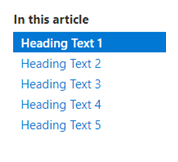 |
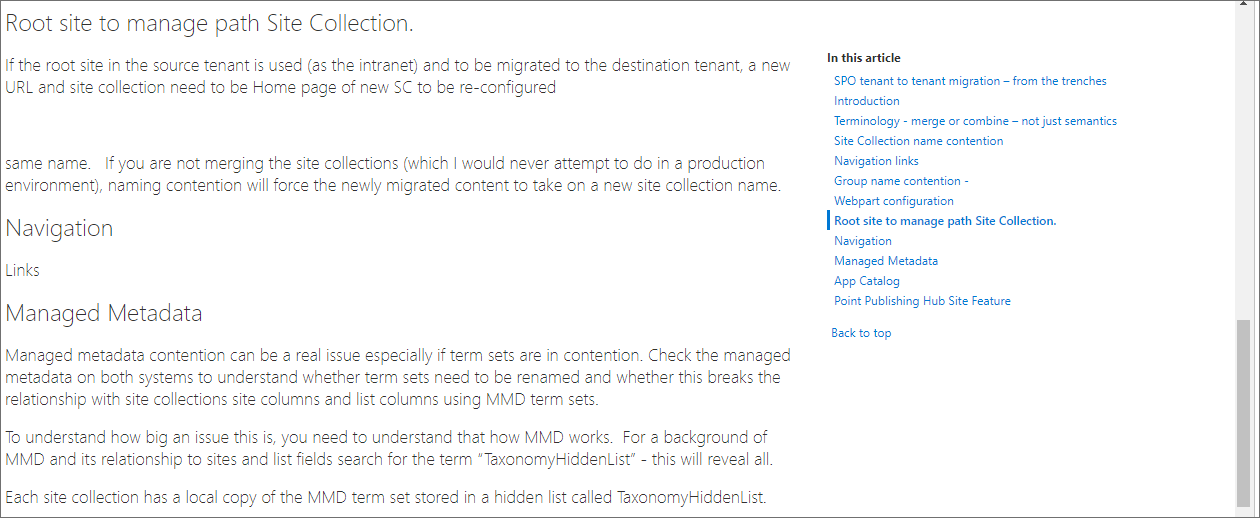
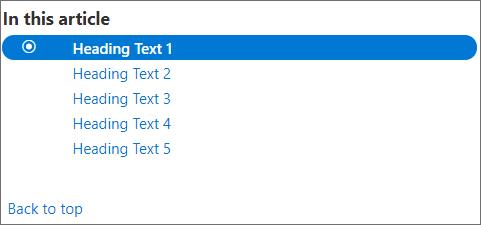
Table of Contents with ‘Back to top’ link
You can add the “Back to top” link to Table of Contents Web part to support positioning the reader quickly to the top of the page.
- Toggle Show back to top link to On to enable this feature.
- Set the Back to top link text setting to a common description; by default it is set to Back to top.
The image below displays how the “Back to top” link will render.
Custom CSS
You fully customise the look-n-feel of the Table of Contents Web part by overriding the CSS styles.
- Expand out the Custom CSS box to see the CSS override option. The following styles can be configured:
| Description | Style Name |
|---|---|
| The root of the web part | .q-stick-nav-root-override |
| The sticky container | .q-stick-nav-root-override .q-container-override |
| The title of the navigation | .q-stick-nav-root-override .q-container-override .q-title-override |
| The navigation list (ul) | .q-stick-nav-root-override .q-container-override .q-navList-override |
| The navigation item (li) | .q-stick-nav-root-override .q-container-override .q-navList-override .q-listItem-override |
| The active item class added to the list item | .q-stick-nav-root-override .q-container-override .q-navList-override .q-listItem-override.q-listItem-active-override |
| The link in each item | .q-stick-nav-root-override .q-container-override .q-navList-override .q-listItem-override a |
| The back to top link (a) | .q-stick-nav-root-override .q-container-override .q-back-to-top-link-container-override .q-back-to-top-link-override |
Do more with Qualitem!
Extend SharePoint Online with one of our other content-focused web parts in the Qualitem Marketplace, such as:
- Accordion Heading Web part: Create expandable / collapsible sections within your page using the heading web part.
- Source Code Web part: For technical documentation, add our source code web part to document code snippets.